In This Guide
We show how to use Eth’s software stack, but with BTC. (Ie, without buying Ether). This requires Bip300, but we can still demonstrate via DriveNet (a version of Bitcoin Core with Bip300 activated).
Specifically, we do 5 steps:
- Open Linux, open three terminal windows, and make a project folder.
- Use the first terminal window to: download the mainchain full node software, run it in regtest mode, force it to find 1 block every 5 seconds (for our convenience), and activate the ethereum sidechain on it.
- Use the second terminal window to download, build, run, and connect “ethSide” (our ethereum sidechain clone). Via blind merged mining, it will also find a block every 5 seconds.
- Use the third terminal window to play with ethereum – make accounts, use Eth functions, and especially: deposit 10 BTC from the mainchain to the Eth Sidechain.
- Finally, we will go to remix.ethereum.org and plug our sidechain seamlessly into ETH’s infrastructure. There we can run contracts.
Step 1: Set Up
LINUX is needed. Mac/Windows users can run Linux for free, by using software such as VirtualBox or VMWare – see these guide. This is easy & secure - it stops DriveNet from touching the rest of your computer.
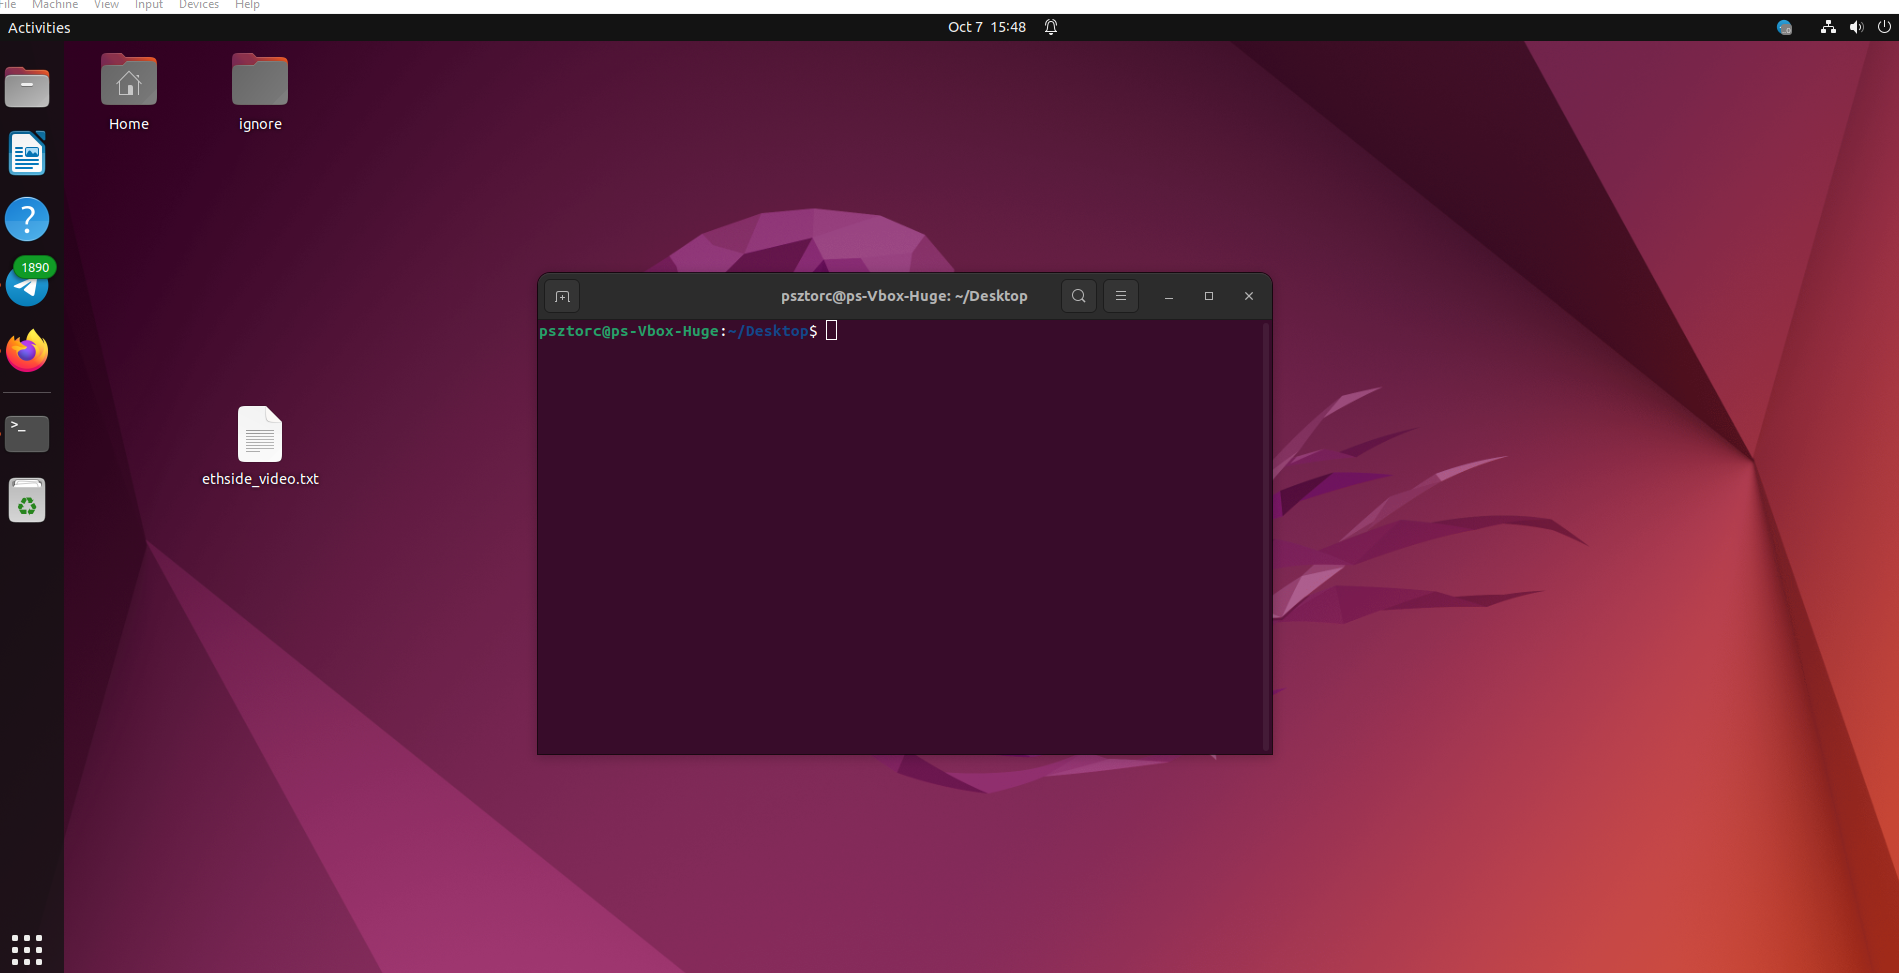
Below: you are looking at an Ubuntu desktop.
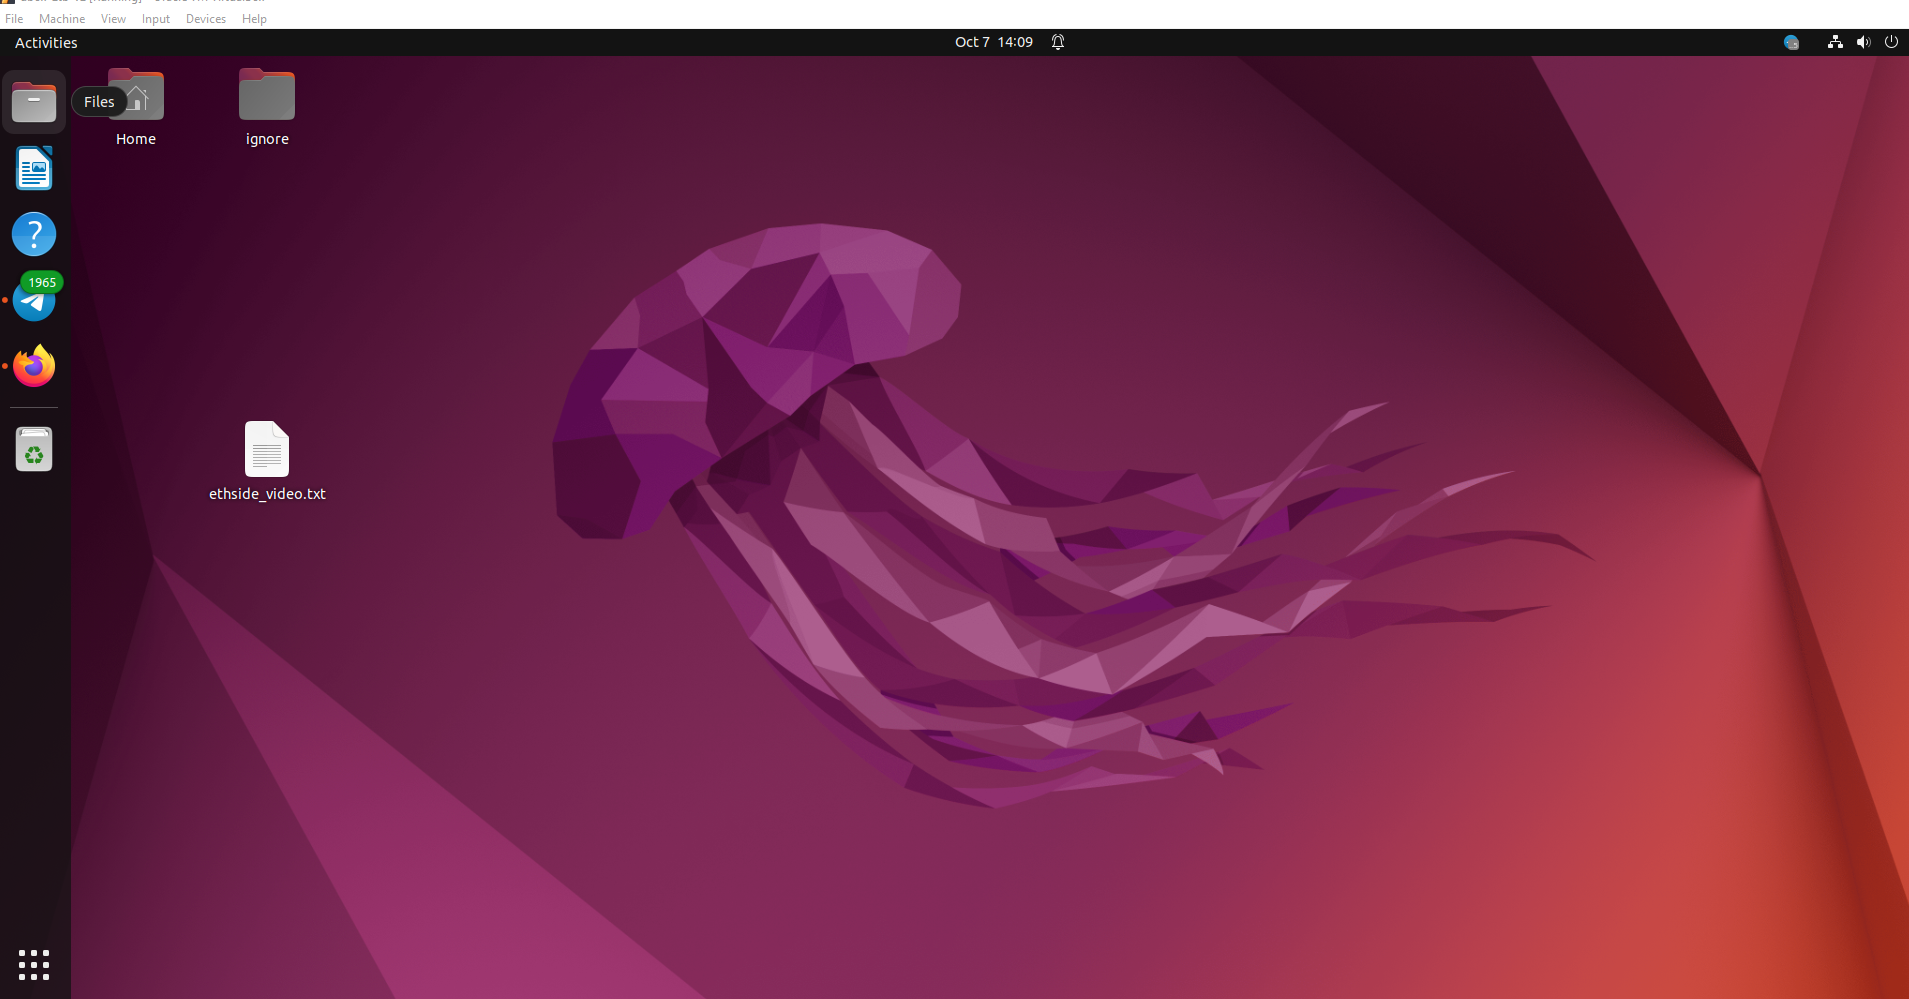
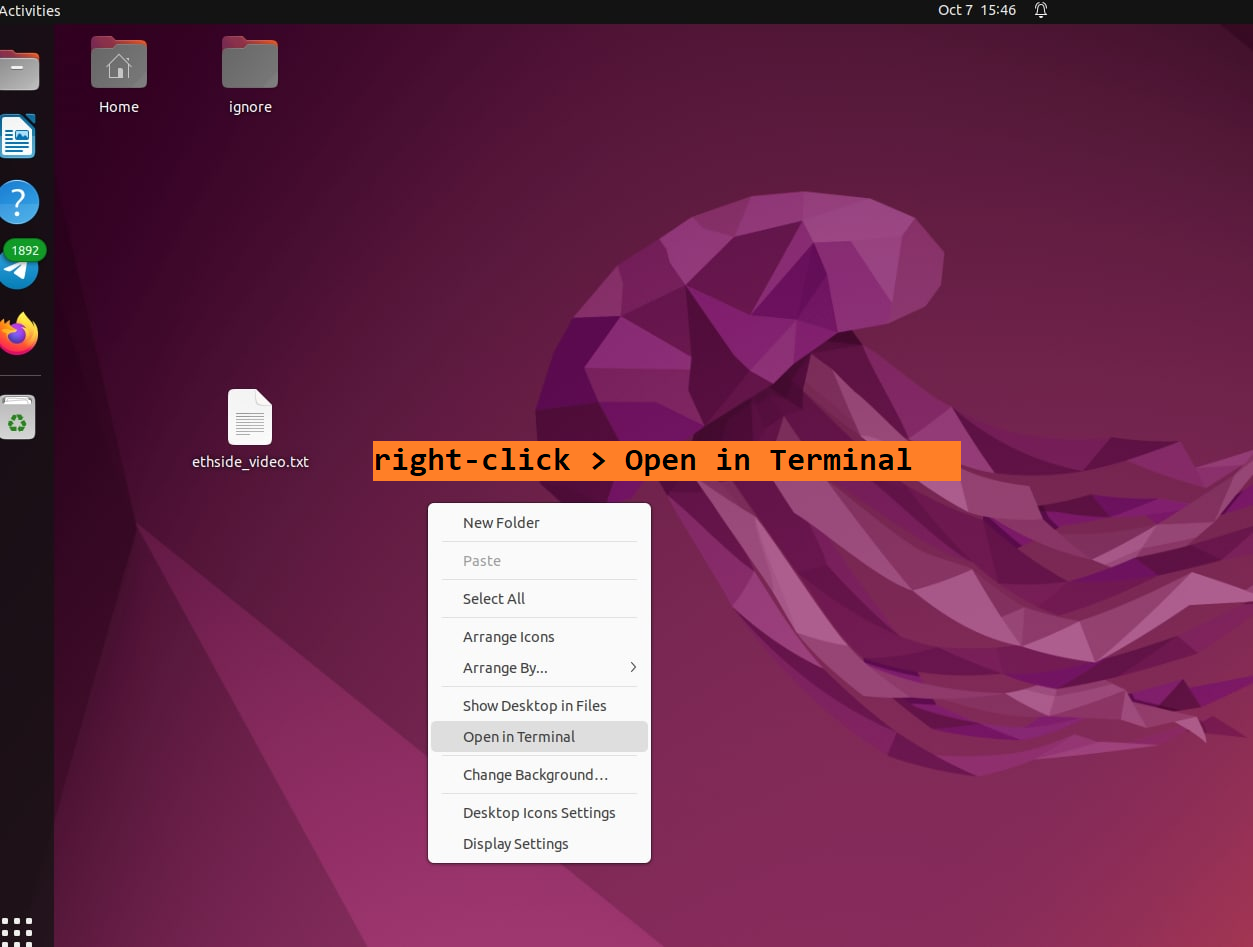
Open a terminal – (right-click -> “Open in Terminal”).
Step 2: Download & Use Mainchain
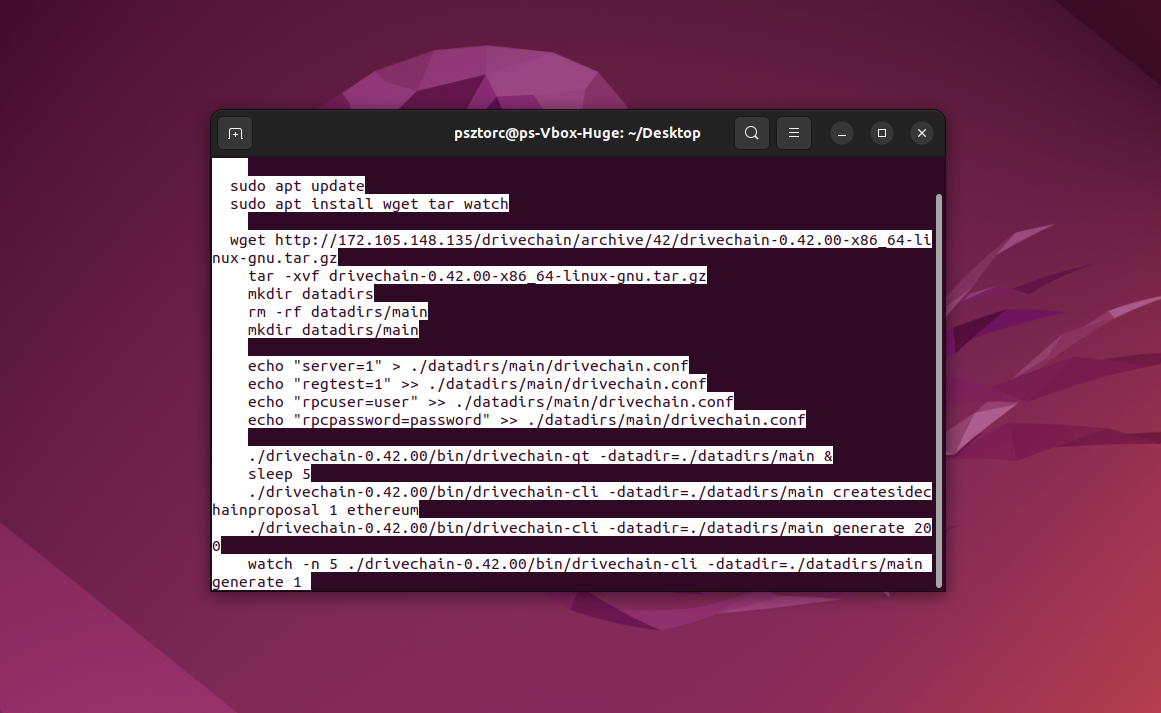
Now we want to do a bunch of steps: make a project folder, perform updates and install dependencies, download DriveNet-42, make a special directory for its blockchain to live (inside the project folder, where it won’t bother any of your other files), turn DriveNet on (in regtest mode, so that we can do our testing unencumbered by proof-of-work), propose and then activate the ethereum sidechain (in sidechain slot #1), and finally order the regtest blockchain to find a block every 5 seconds.
In the terminal, run the following (copy/paste, with [cntrl + c], [cntrl + shift + v]:
mkdir ethside_video
cd ethside_video

sudo apt update
sudo apt install wget tar watch

wget http://172.105.148.135/drivechain/archive/42/drivechain-0.42.00-x86_64-linux-gnu.tar.gz
tar -xvf drivechain-0.42.00-x86_64-linux-gnu.tar.gz
mkdir datadirs
rm -rf datadirs/main
mkdir datadirs/main

echo "server=1" > ./datadirs/main/drivechain.conf
echo "regtest=1" >> ./datadirs/main/drivechain.conf
echo "rpcuser=user" >> ./datadirs/main/drivechain.conf
echo "rpcpassword=password" >> ./datadirs/main/drivechain.conf

./drivechain-0.42.00/bin/drivechain-qt -datadir=./datadirs/main &
sleep 6
./drivechain-0.42.00/bin/drivechain-cli -datadir=./datadirs/main createsidechainproposal 1 ethereum
./drivechain-0.42.00/bin/drivechain-cli -datadir=./datadirs/main generate 200
watch -n 5 ./drivechain-0.42.00/bin/drivechain-cli -datadir=./datadirs/main generate 1
Because of “sudo”, you may need your Ubuntu password (to give permission to install the updates):

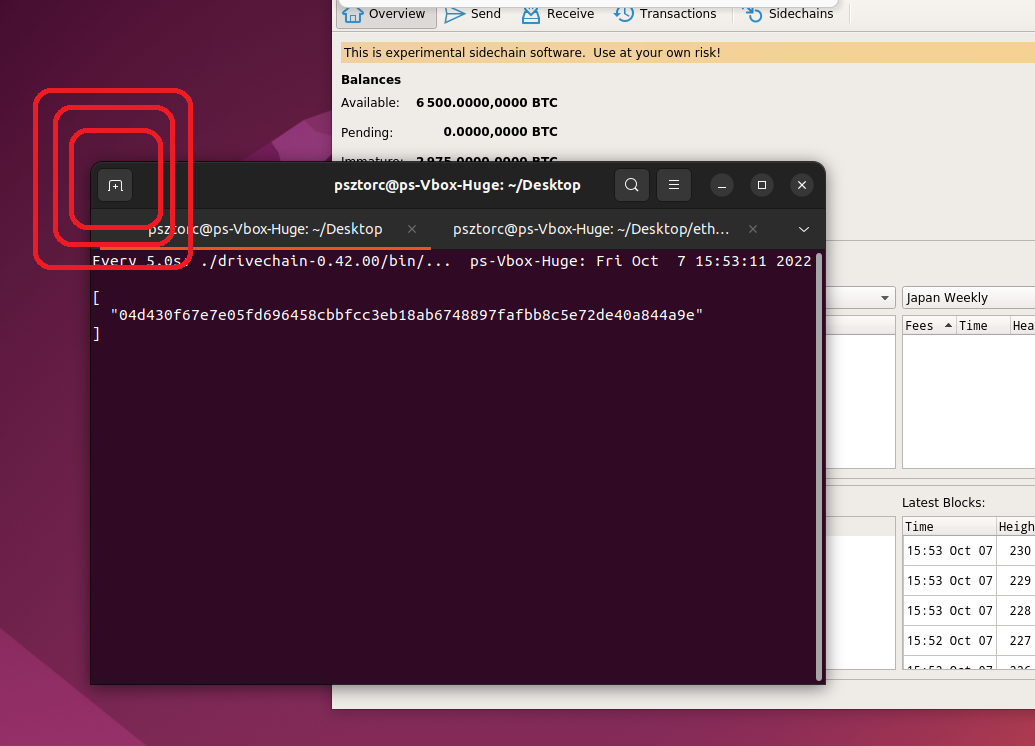
Below, we are finished: DriveNet is running in regtest mode, and finding a new block every 5 seconds:

Step 3: Download & Use EthSide
Now open a second terminal tab.
Now we want to download, build, run and connect EthSide (our sidechain-clone of Ethereum).
In the new terminal tab run:
sudo apt update
sudo apt install git curl build-essential golang

curl --proto '=https' --tlsv1.2 -sSf https://sh.rustup.rs | sh

git clone https://github.com/nchashch/ethereum-sidechain
cd ethereum-sidechain
make

cd ..

rm -rf datadirs/eth
mkdir datadirs/eth
./ethereum-sidechain/build/bin/geth --datadir ./datadirs/eth init ./ethereum-sidechain/genesis.json
./ethereum-sidechain/build/bin/geth --http --http.api eth,web3,personal,net \
    --http.corsdomain "https://remix.ethereum.org" \
    --datadir=./datadirs/eth --maxpeers 0 --dev
(It may ask you for your Ubuntu password again).
(It may also complain about Rust being already installed, if Rust is already installed for some reason, then there is no need to install it again.)
(The “Building” step can take a little while – 3 minutes or so.)
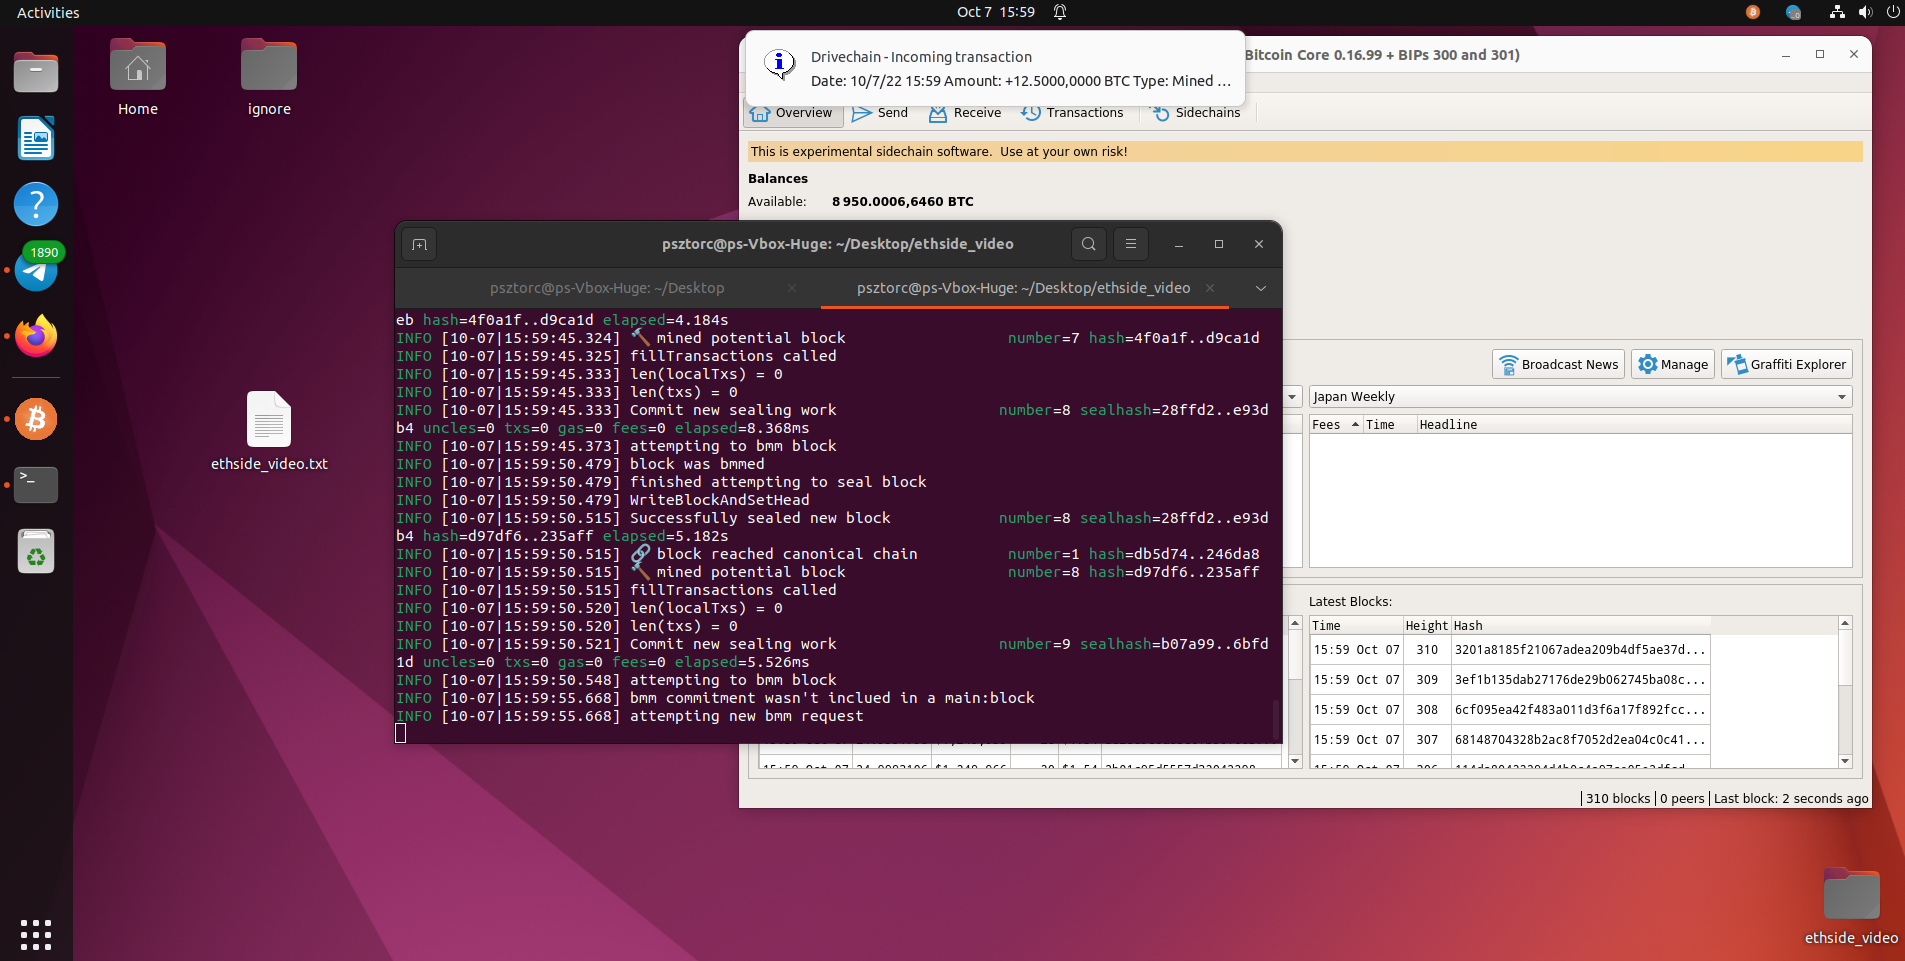
You should now be mining EthSide blocks:
Step #4: Playing Around With Ethereum
Open a third terminal tab.
And in it, fire up ethereum:
./ethereum-sidechain/build/bin/geth attach http://127.0.0.1:8545
The Eth terminal is now on! You can now user Ethereum.
Try making a new “wallet”:
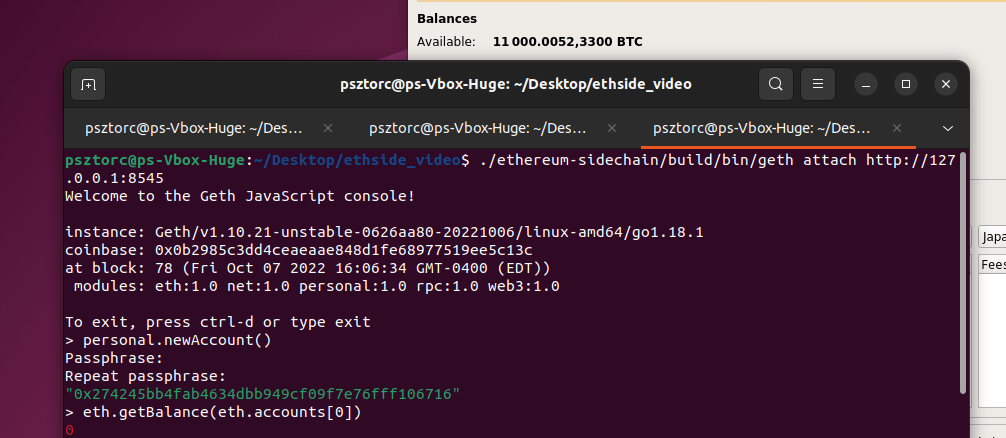
personal.newAccount()
Try checking your wallet balance – zero coins… for now.
eth.getBalance(eth.accounts[0])
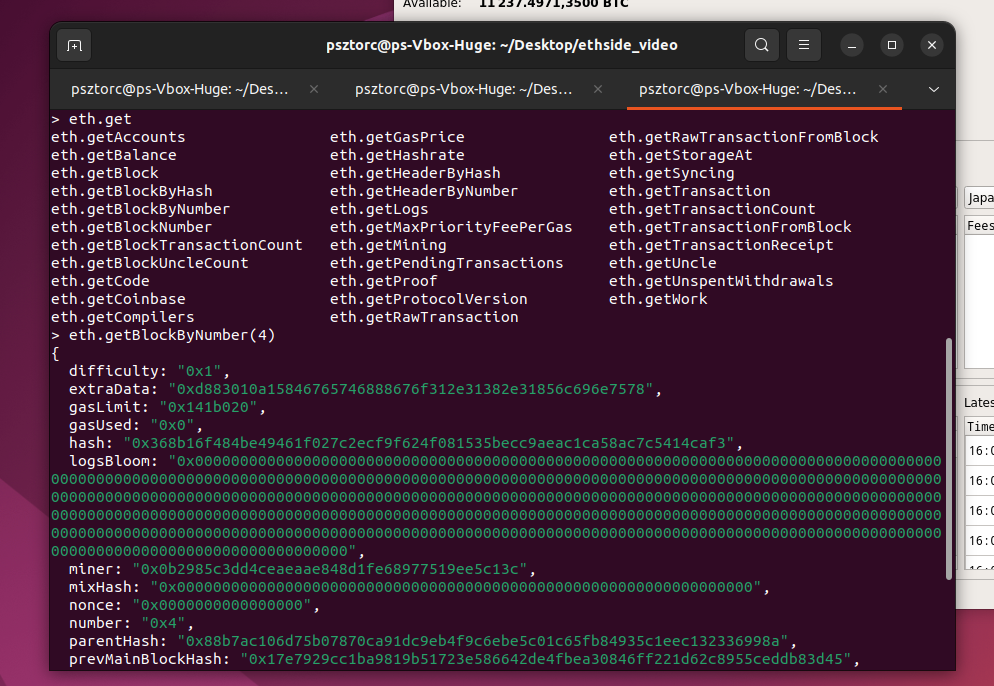
Or use “help” (or Tab key), to see what you can try:
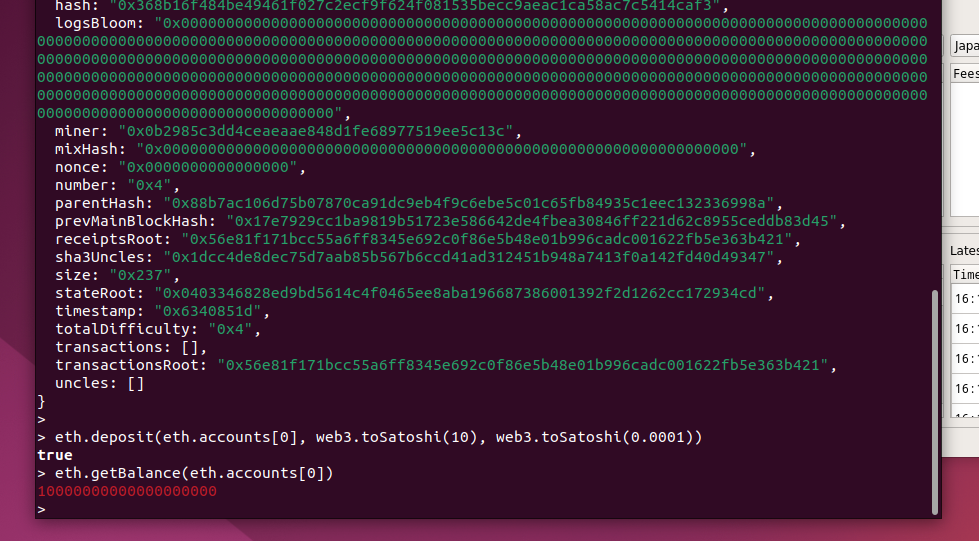
Finally, make sure that you run the following:
eth.deposit(eth.accounts[0], web3.toSatoshi(10), web3.toSatoshi(0.0001))
eth.getBalance(eth.accounts[0])
That command will take 10 of your BTC from the mainchain (since you’ve been mining this whole time), and sends them over to the ETH sidechain.
(Coin divisibility is different in ETH-world, so instead of getting 10,0000,0000 “sats”, you instead get 10000000000000000000 aka 10 quintillion units 10,0000,0000,,00,0000,0000 of “side-gwei” (kind of like sats-squared). Isn’t Ethereum fun!?)
(When the coins are sent back to the mainchain they will return to their original “sat”-level of divisibility.)
Now, take a break! You earned it!
When we come back, we will take advantage of “remix.ethereum.org” (a dev website built by the ETH community).
Step #5: Hijacking Remix
Now to invade the wider world of ETH – visit https://remix.ethereum.org/.
Like a wolf among sheep, click on the sidebar’s ETH logo, then change “Remix VM (London)”, to “External Http Provider”.
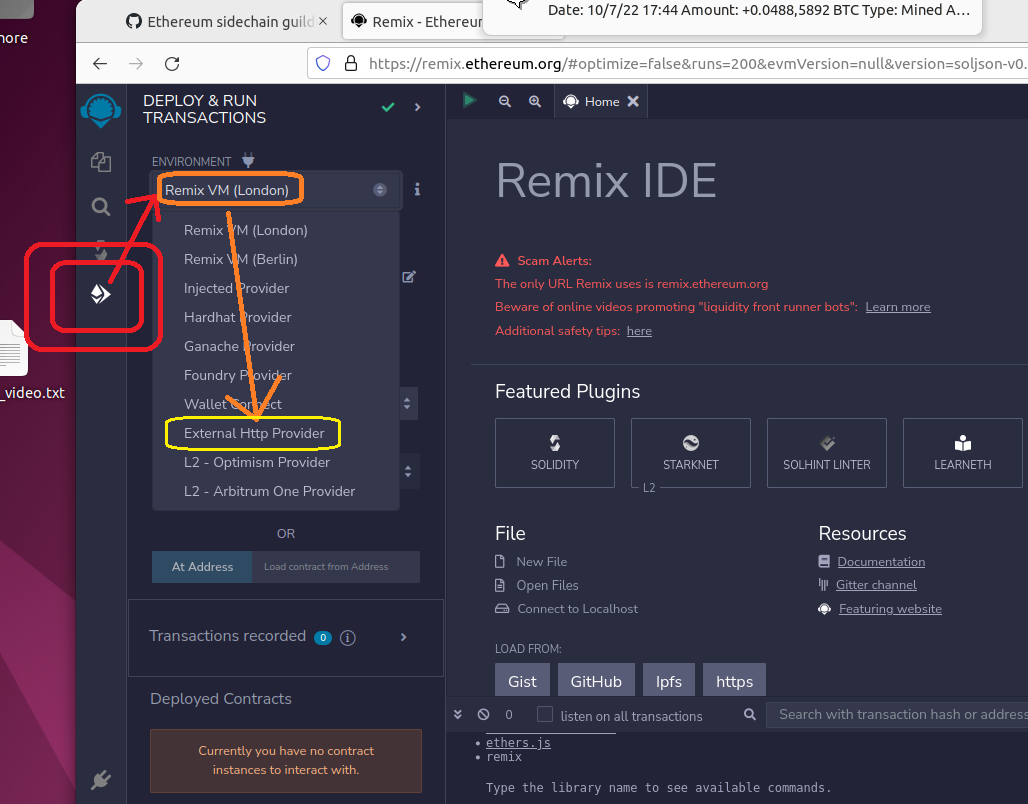
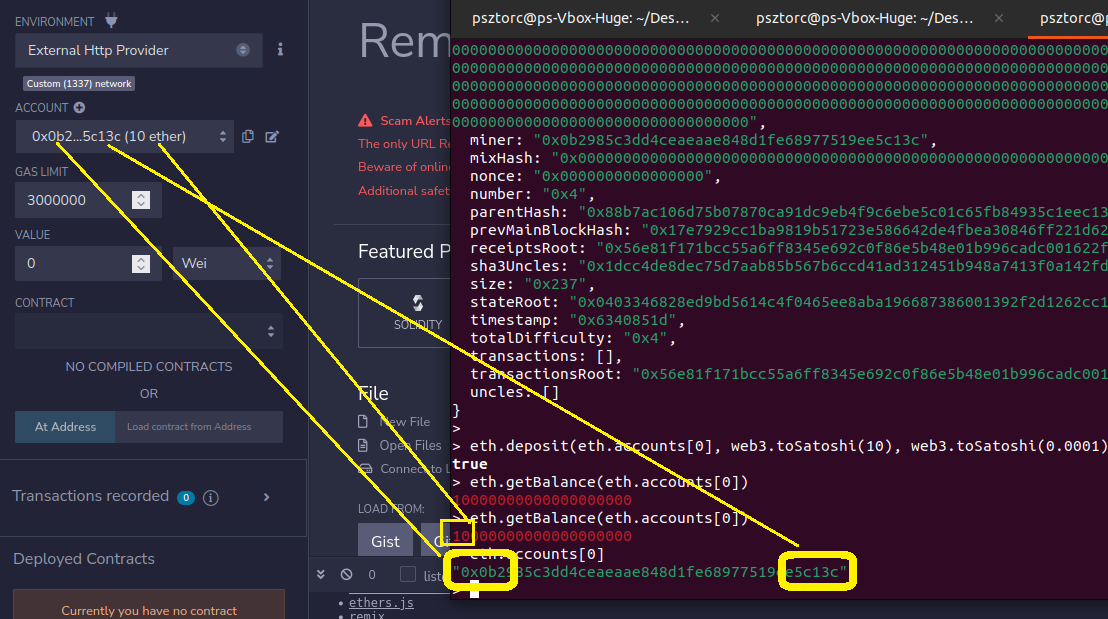
It will automatically connect to your EthSide node. It will even display the 10 “Ether” (that you deposited, from the mainchain).
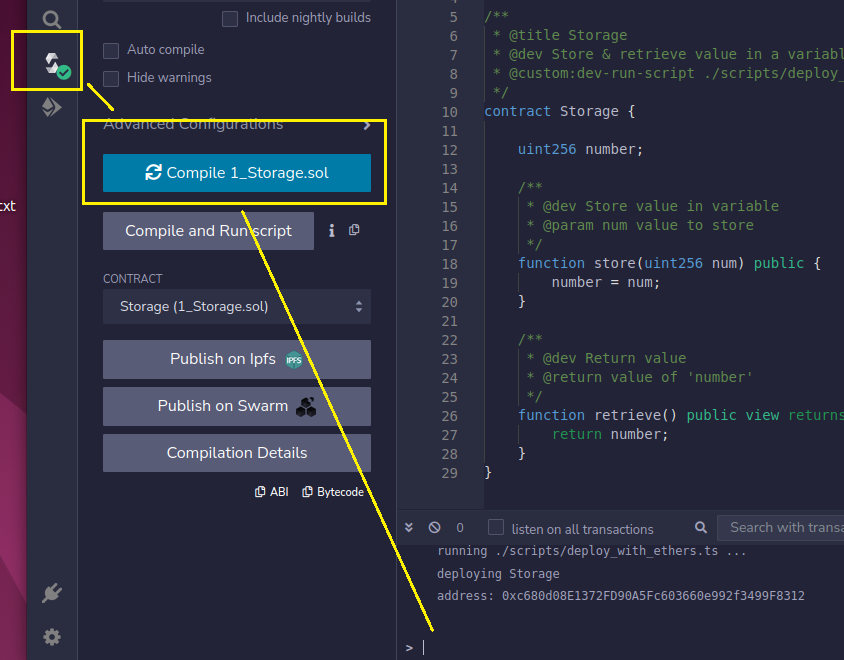
Now we can run the contracts on this site. For example, the “Storage” contract…
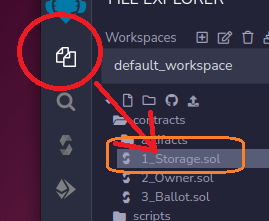
Once we select “1_Storage.sol”, we can Compile it (on the third sidebar tab).
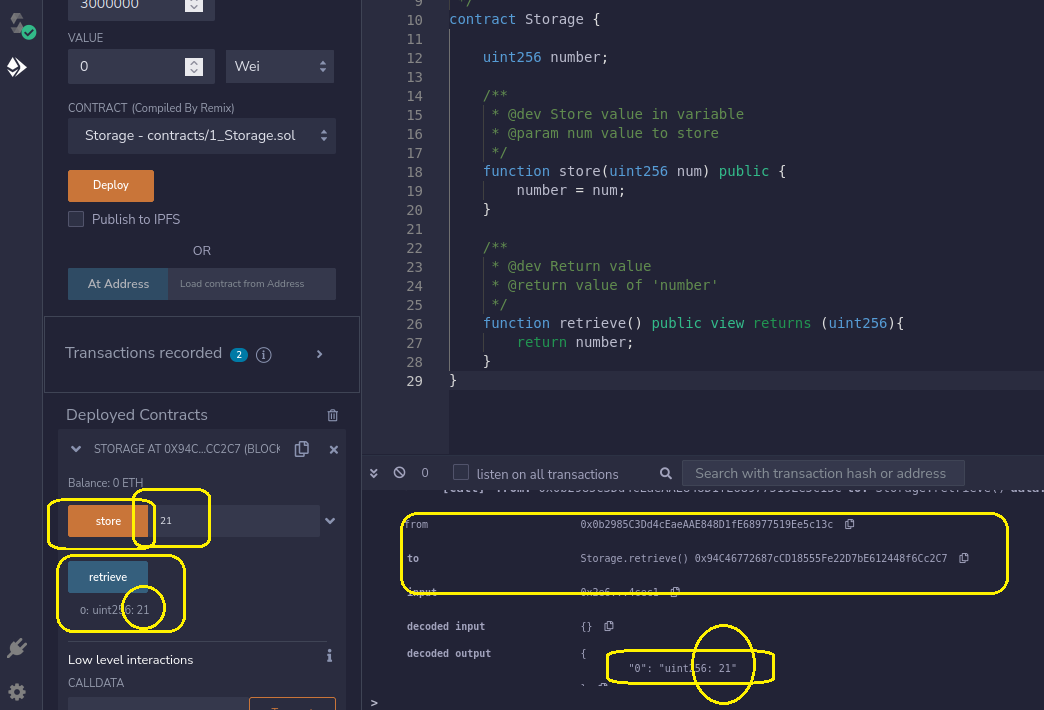
Once we Compile it, we can Deploy it on the fourth tab.
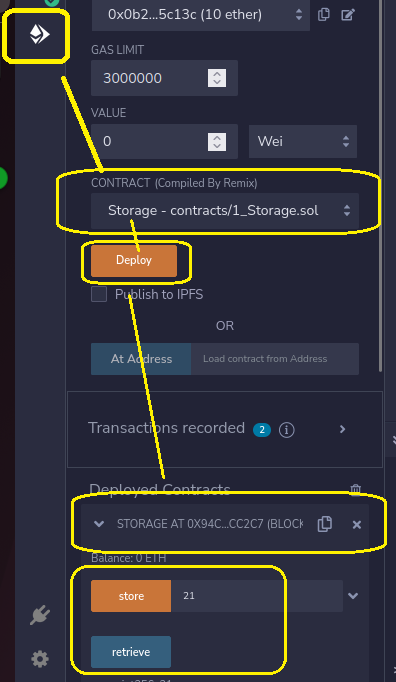
Once we Deploy it, we can make use of it! Specifically, in this case, we can use “1_Storage.sol” to store a number, and then retrieve it! The “magic” of Ethereum!
The walkthrough we did is very similar to the one advocated for on this site. You can explore the site and see how well the other guides apply!
In Conclusion
We ran an ETH contract… on top of BTC. We didn’t buy any Ether! And we left Layer1 alone – our layer1 Bitcoin mainchain full node, knew nothing of Ethereum’s rules.
This guide didn’t cover withdrawals (ie: when coins move from sidechain to mainchain). But that’s only because Bip300 withdrawals have already been covered to death.
comments powered by Disqus